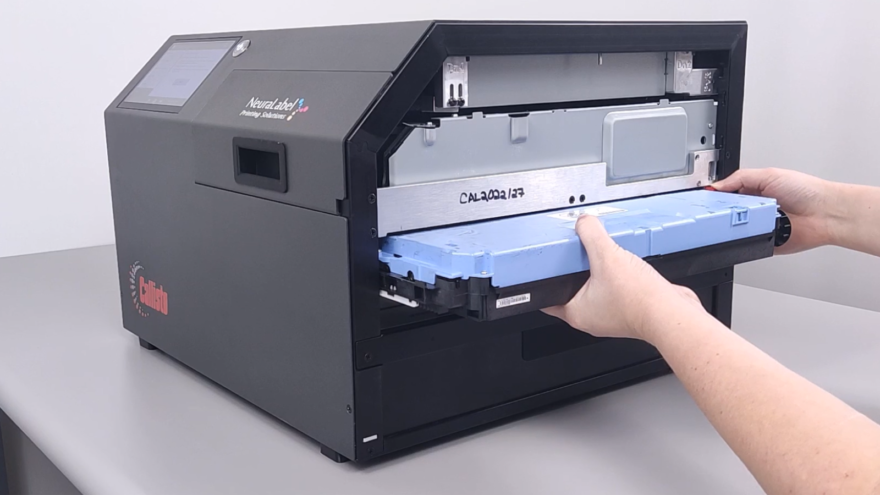
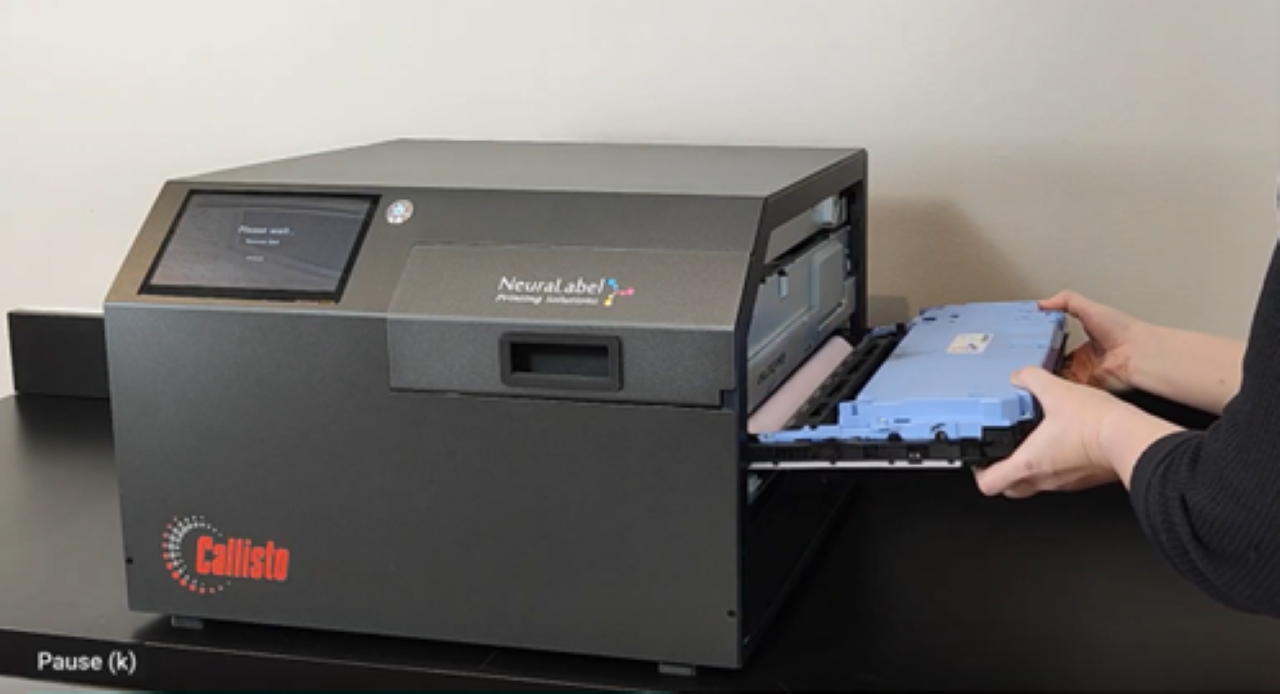
The Callisto service tray is a consumable and will periodically need to be replaced. When replacing the service tray, follow the instructions outlined in the Replacing the Callisto Service Tray video.
To make installing the service tray a smooth process, follow these guidelines.
First, stand directly in front of the printer entrance when installing the service tray. This will ensure you can insert the tray straight and not at an angle.
Second, slide the tray halfway into the track before pressing Install on the screen. The service tray should be settled on the track, but not pressed against the white gears. Once you press Install and hear the gears begin to move, apply gentle but firm pressure to allow the gears to grip the service tray and pull it into the printer.
This video covers the steps for troubleshooting and recovering a service tray if installation does not complete correctly.
Two error messages indicate that a new service tray has not installed correctly and therefor cannot not calibrate. “Error: Low Wipes” and “Error: Printhead Wipe Motor Stall”.
For the Low Wipes error, proceed to the recovery procedures outlined in this video.
For the Printhead Wipe Motor Stall error, before beginning the recovery procedure, attempt to clear the error by clicking “OK” on the message on the printer Operator Panel. This will give the printer another chance to calibrate the service tray correctly. Once it has completed its routine, the printhead has capped, and the printer indicates Printer Ready status; complete the verification process shown next to ensure it is correctly calibrated and installed. If it fails the verification process, proceed to the recovery procedures.
[Verification Procedure]
To verify that the service tray calibration was successful, check that the service tray life shows between 95% to 100%. On the printer Operator Panel, go to Supplies and review the Service Tray Level.
Next, physically inspect the service trays’ behavior. During a Service Tray Check, the tray should hit the sled stop at the printer’s entrance, and the pink ribbon, visible at the printer’s exit, should advance forward. Perform a Service Tray Check from the printer Operator Panel by selecting Support Tools – Maintenance – Service Tray – and pressing Check. During this process, watch the tray to perform the physical inspection. If both actions take place, your service tray has been successfully recovered.
[Recovery Procedure]
To run the Service Tray Recovery Procedure, Use the Operator Panel to perform an Advanced Manual Calibration. Go to Support Tools – Advanced – Calibrate Service Tray – and press Reset. Once complete, the printhead will cap in the up position and the printer will indicate a Printer Ready status. Next complete the verification process to ensure the calibration was successful.
If after the Recovery Procedure, the service tray continues to fail the verification process, please contact support.

