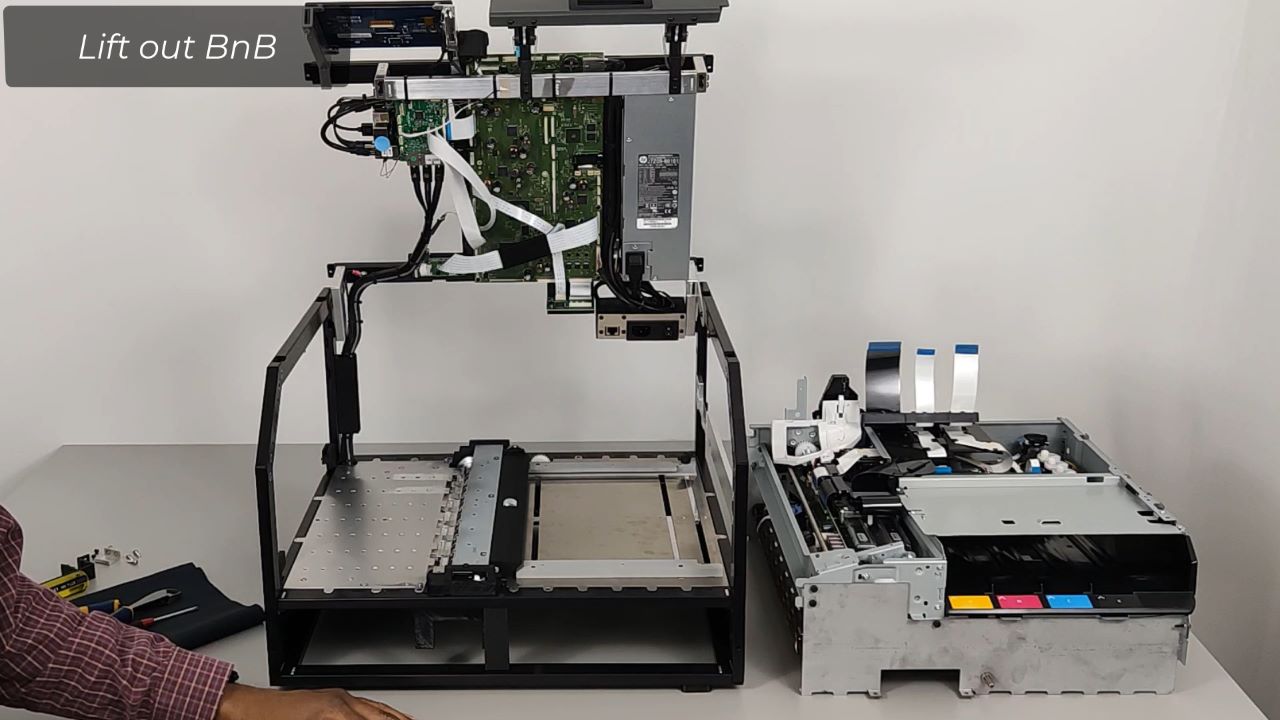
This video provides instructions for replacing the Input Surface within the Callisto printer. The printer must be powered off and open, and the BnB and Upper Media Guide removed to replace the input surface. Please watch those instructional videos before attempting to remove the input surface.
A Phillips screwdriver is required to remove the input surface.
Removing the Input Surface
There are six Phillips head screws.
Remove the small black screws near the sensor using the screwdriver and set them aside.
Next, remove the medium black screws on the frame and set them aside.
Then remove the two silver screws at the printer’s entrance and set them aside.
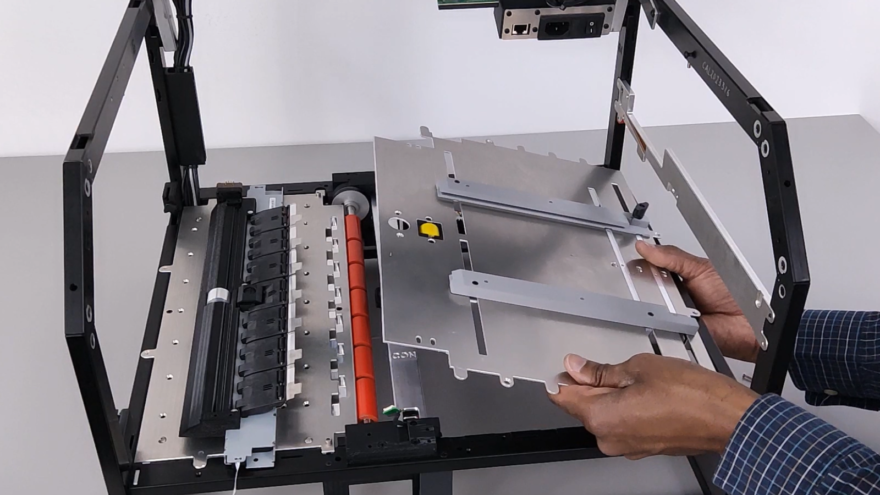
Lift the tray from the bottom with your fingers. Gently pull up towards the printer’s opening and remove it from the printer.
Installing the Input Surface
Tilt the surface in and align the back tabs with the back of the printer. Tilt it forward over the sensor and gently set it into place.
Ensure the upper media guide cable is not pinched between the metal cross-member and the input surface.
Realign the sensor with the surface by holding the mount underneath the printer and gently moving it into place from the top.
Install the small black screws near the sensor using the screwdriver. Do not overtighten the screws. Make sure the sensor is poking through the hole in the metal surface.
Then install the medium black screws on the frame. Do not tighten them all the way.
Next, install the two silver screws at the printer’s entrance. Do not tighten them all the way.
Once all four screws are in, tighten the silver screws, then tighten the medium black screws.
If you have any questions, contact support +1 281-207-8555 or visit the Support Library for more information.

