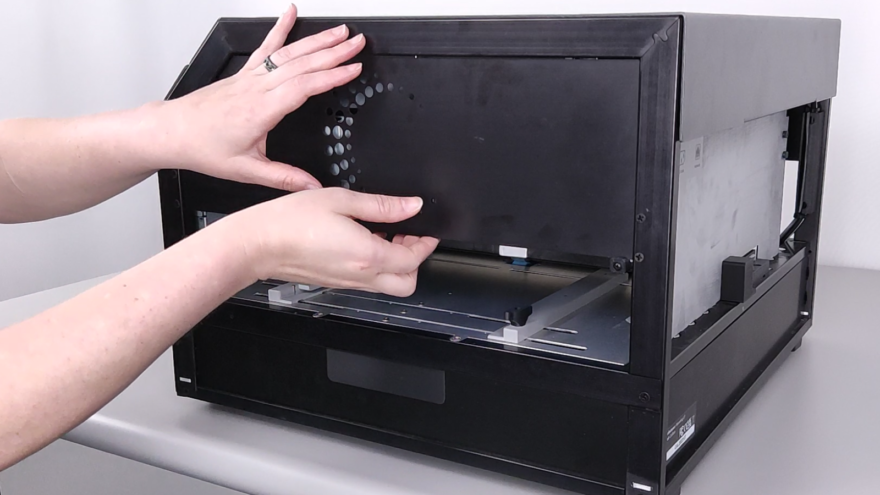
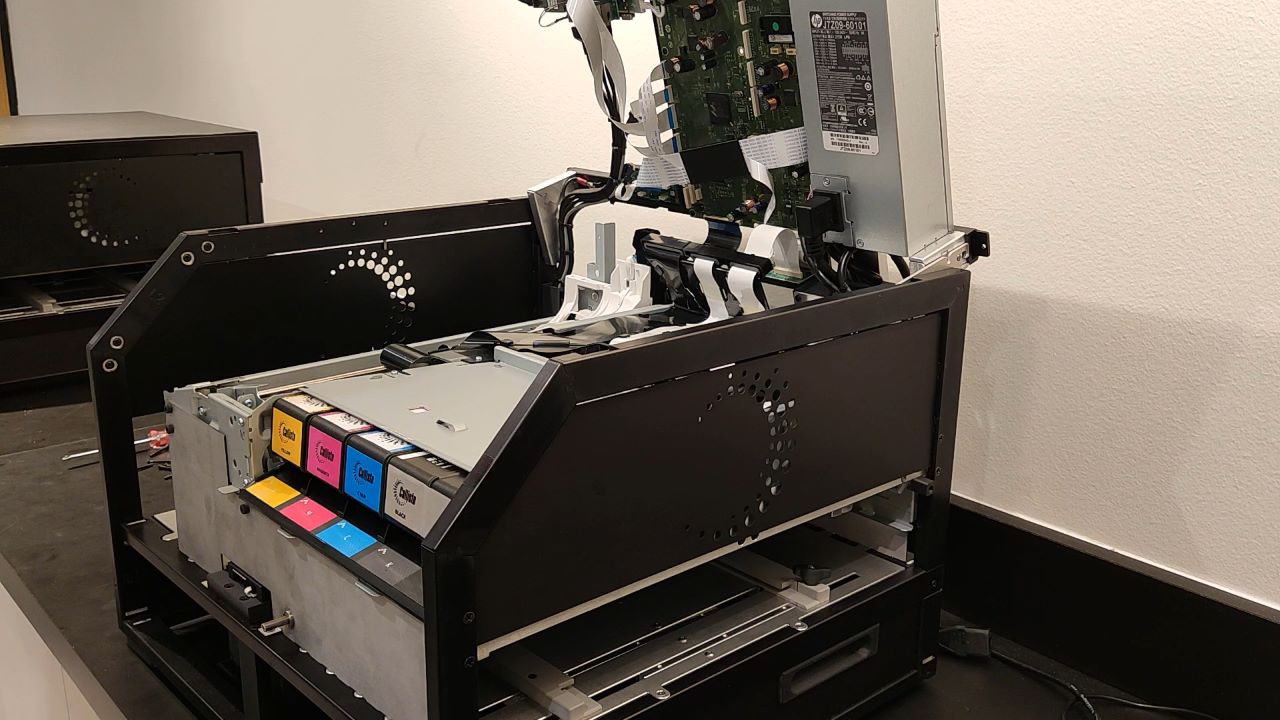
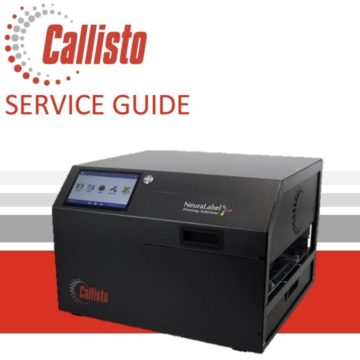
The following video provides instructions for removing the printer’s upper side panel. This step is necessary for ejecting and installing the side panel and accessing the print zone. Place your fingers underneath the panel and push it out away from the printer. Gently pull out the aluminum panel notches from the slots on the back of the printer first, then remove the panel.
To reinstall the panel, insert the three notches on the panel into the slots on the front of the printer. Gently bend the panel outward and slot the back notches into the frame. Once seated, allow the panel to pop back into place gently.

