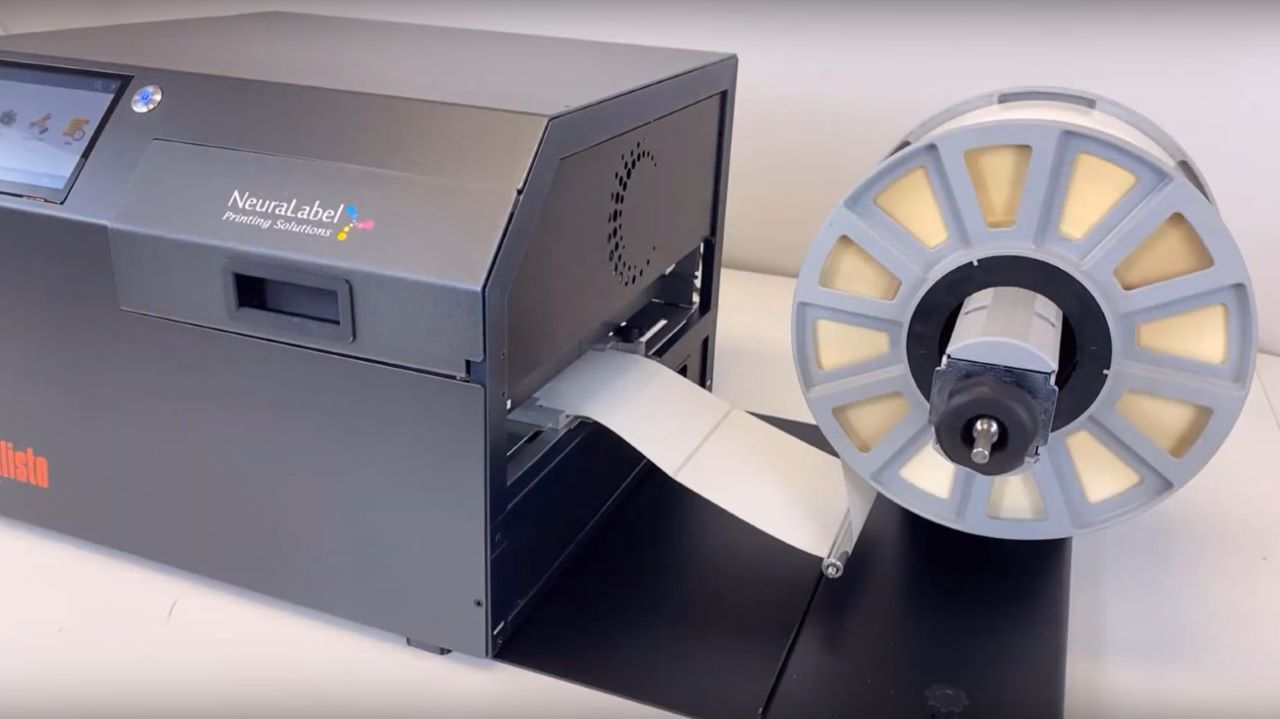
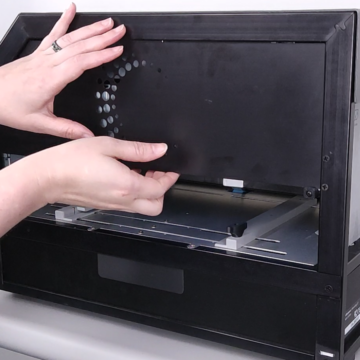
The following video provides instructions for replacing the HP-branded Callisto Power Supply.
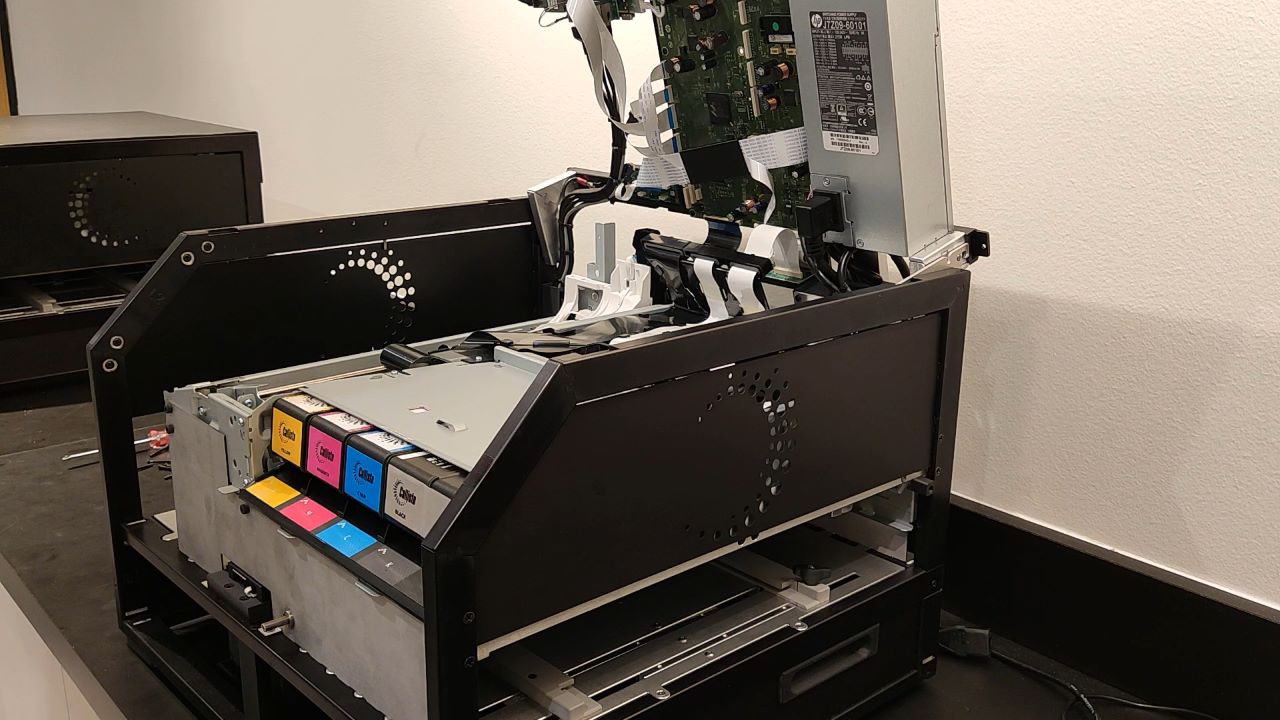
The printer must be powered off and open to replace the power supply. Please watch the instructional video on opening the printer before attempting to remove the power supply.
A Phillips screwdriver is needed to replace the power supply.
The following are the steps to replace the power supply.
- Removing the Power Supply
- Installing a new Power Supply
Removing the Power Supply
Remove 2 cables attached to power supply.
Remove 2 Phillips screws that hold the power supply in place. Remove bottom screw first. Make sure the screws do not fall.
Lift power supply by pushing back and pulling out. It should easily slide out.
Replacing the Power Supply
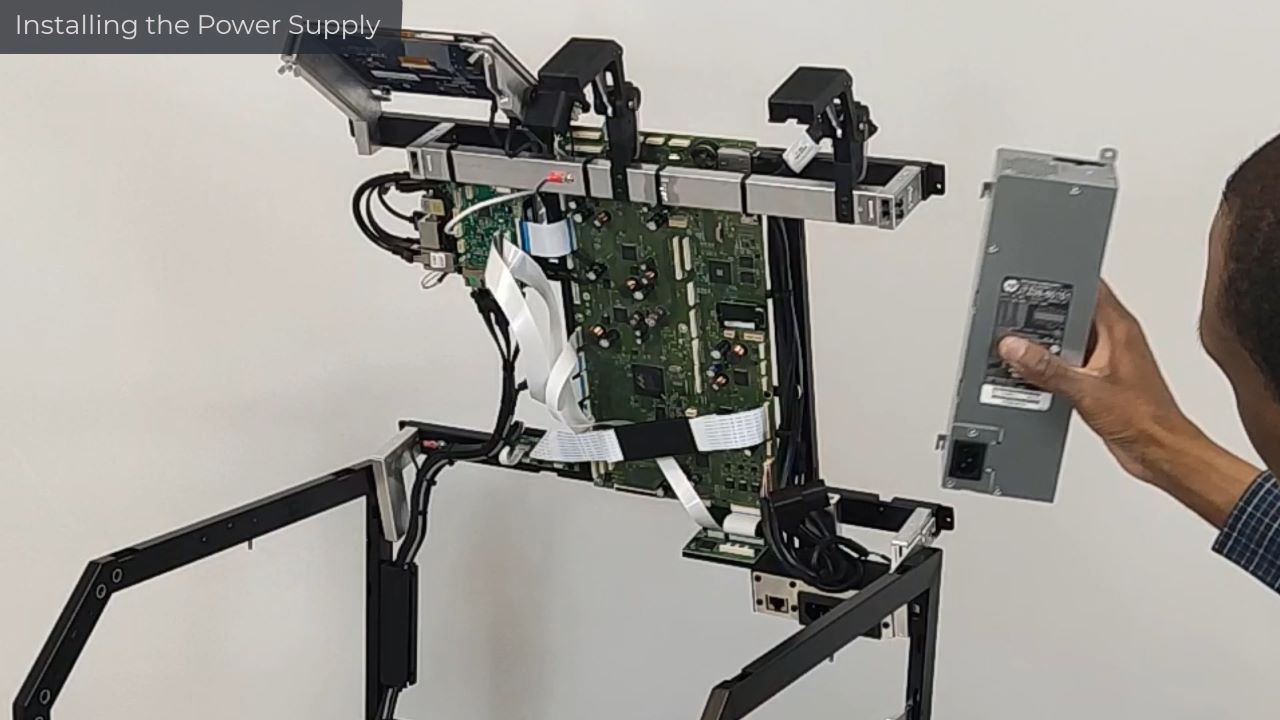
Place new power supply in slits on printer. There are “wings” on the power supply that will align with the printer slits.
Replace the two screws, bottom screw first, making sure you do not drop the screw into the printer. Make sure the screws are snug.
Now reconnect the 2 cables.
Once screws and cables are in place, the power supply replacement is completed.

