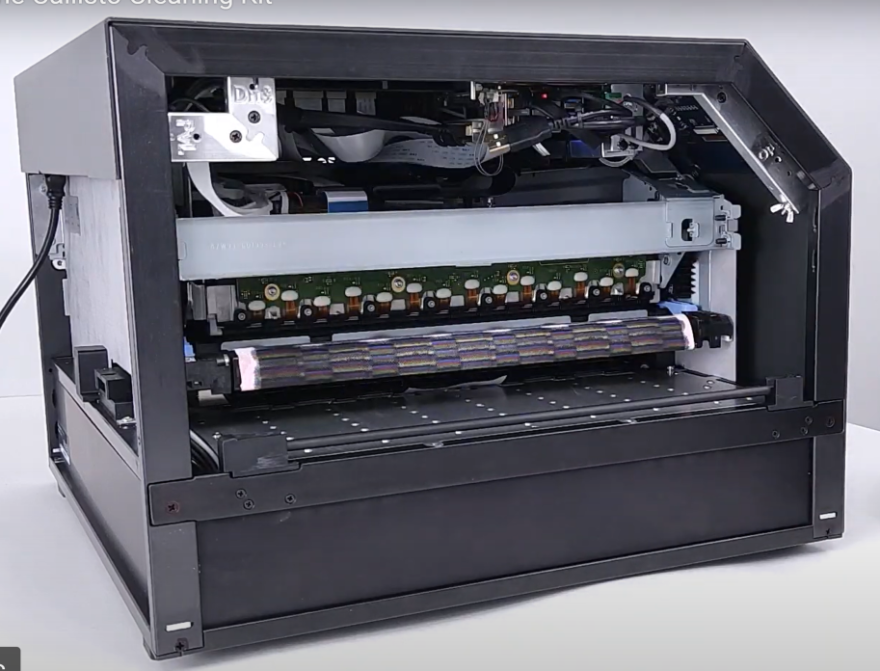
The Callisto printer output surface can collect debris such as dust, glue, or ink. It should be cleaned on a regular basis. At the back of the output surface near the interior of the printer is a zigzag-shaped trough where excess ink will collect. When cleaning the output surface, excess ink should be wiped away from this area.
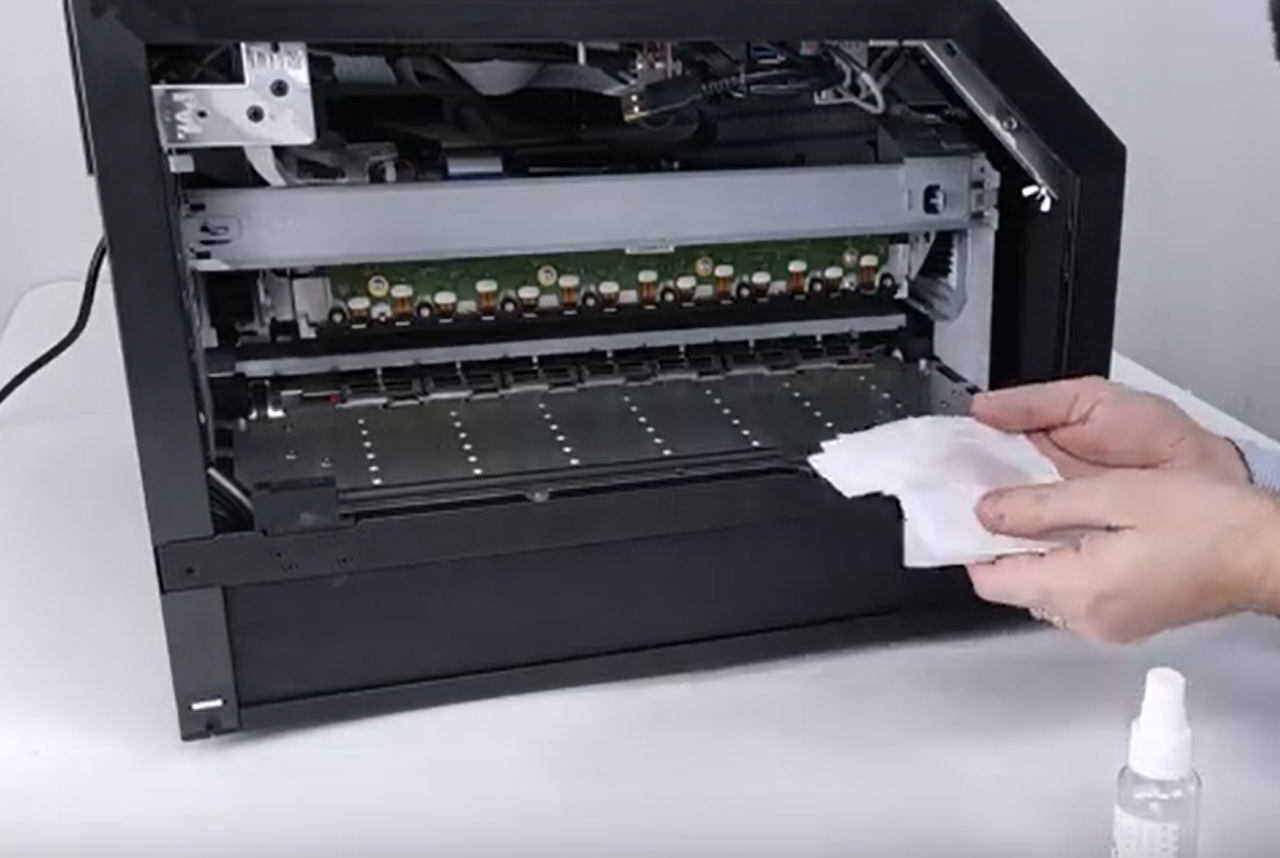
Clean the printer surface by wiping off the printer with a soft cloth or paper towel using 91-99% isopropyl alcohol. Use sponge-tipped Q-tips to clean the indented zigzag trough.
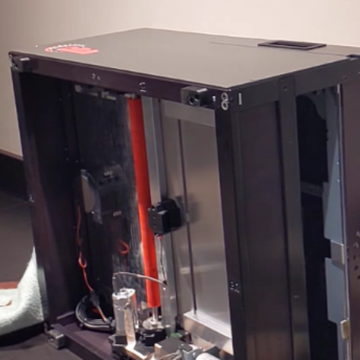
Remove the printer side panel and use the built-in Service Print Zone routine to move the service tray to the away position. This will allow you to wipe off the entire output surface and access the zigzag trough near the interior of the printer.
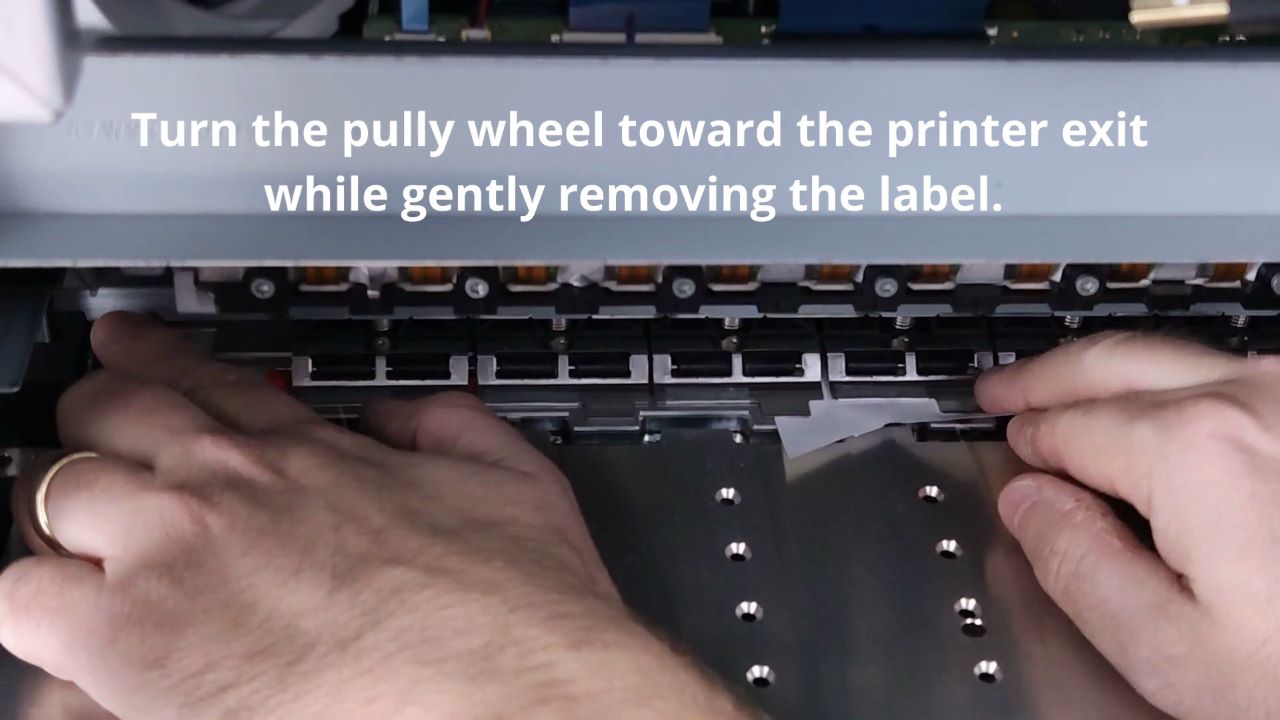
Thoroughly clean the output surface with paper towels. Then clean each section of the zigzag trough to remove the ink buildup. When cleaning the trough be careful not to damage the aluminum flaps behind the trough. The surface may be gently wiped, but do not attempt to lift the flaps.
Once the excess ink has been removed from the trough, give the output surface a final wipe. Watch out for the service tray to return to its capped state. If the service tray returns before you are done, run Service Print Zone again to complete the cleaning.
Be sure to replace the printer side panel when output surface cleaning is complete. Watch the following video for more detailed instructions.
Cleaning the Output Surface
- Remove the exit side panel from the printer, if not already removed, for easier access.
- Prepare a soft cloth or paper towels to clean the printer output surface, using a generous amount of isopropyl alcohol.
- Wipe off any ink or residue on the exit side of the printer.
- Remove the panel at the printer exit.
- Clean what is visible on the output surface, starting with the exit and working inward.
- Make sure all the vacuum holes in the surface are clean and not clogged.
- Once this area is clean, run the routine to Service Print Zone by following the instructional video and steps provided below for Accessing the Output Surface Interior and Zigzag Troughs.
- With the service tray in the “away” position, you can access the surface near the interior of the printer for cleaning with a paper towel and alcohol.
- A foam Q-tip may be used to clean the zigzag-shaped troughs where ink collects. Use a dry Q-tip to soak up excess ink, and then use an alcohol-soaked Q-tip to clean away the remaining ink.
- Once the zigzag trough is cleaned, clean the output surface near this area.
- Be careful not to damage the small metal flaps. Do not attempt to lift the flaps for cleaning.
- The service tray will stay in the away position for a maximum time of 5 minutes. If you need more time repeat the procedure.
- Watch the demonstration video for cleaning techniques.
- Remove all debris and ink from the output surface and zigzag troughs.
- Press the button to Cancel when cleaning is done.
- If cleaning is not complete when time has elapsed, repeat the steps.
Accessing the Output Surface Interior and Zigzag Troughs
Move the service tray by accessing the service tray routine.

- Select the Support Tools icon from the Printer Operator Panel.
- Select Advanced from the menu.
- Select Service Print Zone from the menu.
- Change the setting to the maximum time, 5 minutes.
- When you are ready, click the button ACCESS PRINTHEAD FOR CLEANING
- Clean the output surface area at this time.
- Once you are done cleaning the surface, click the Cancel button. The service tray will return to the home position.
- Once 5 minutes have elapsed, the surface tray will return to the home position. If you need more time to clean the output surface, select the ACCESS PRINTHEAD FOR CLEANING button again.

