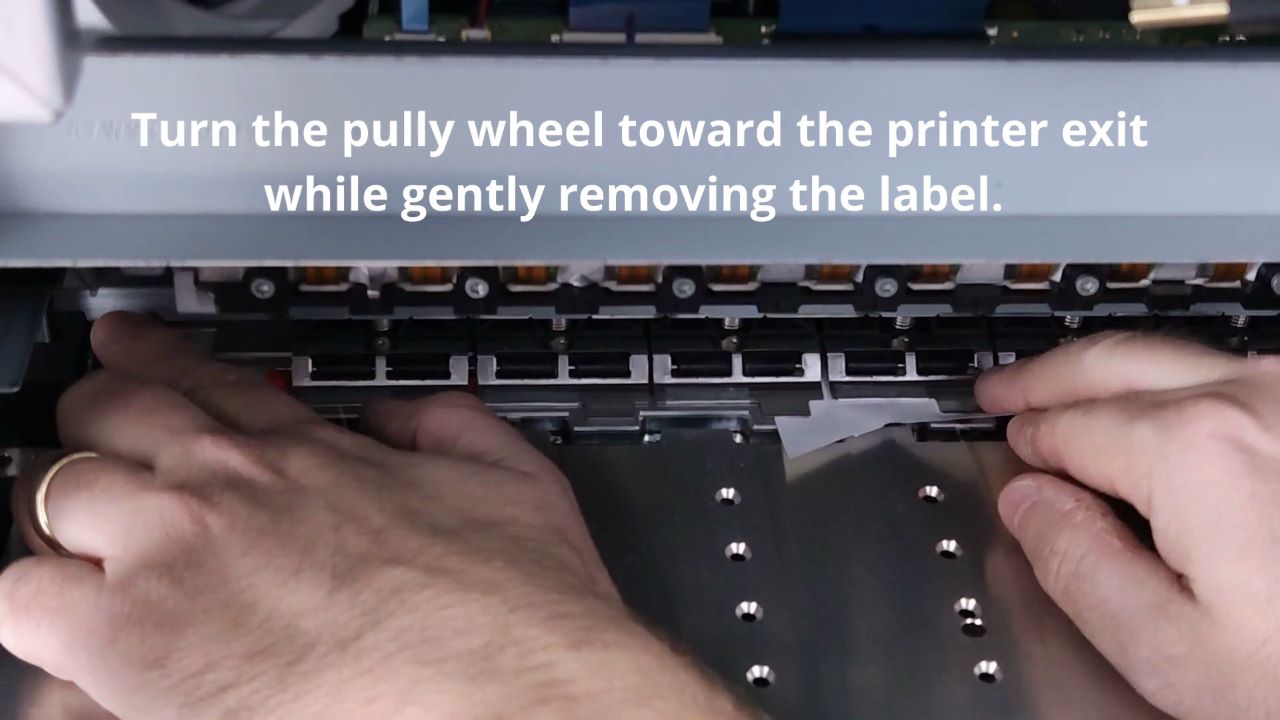
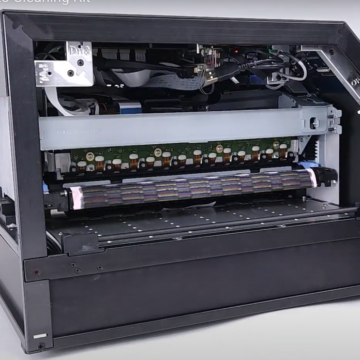
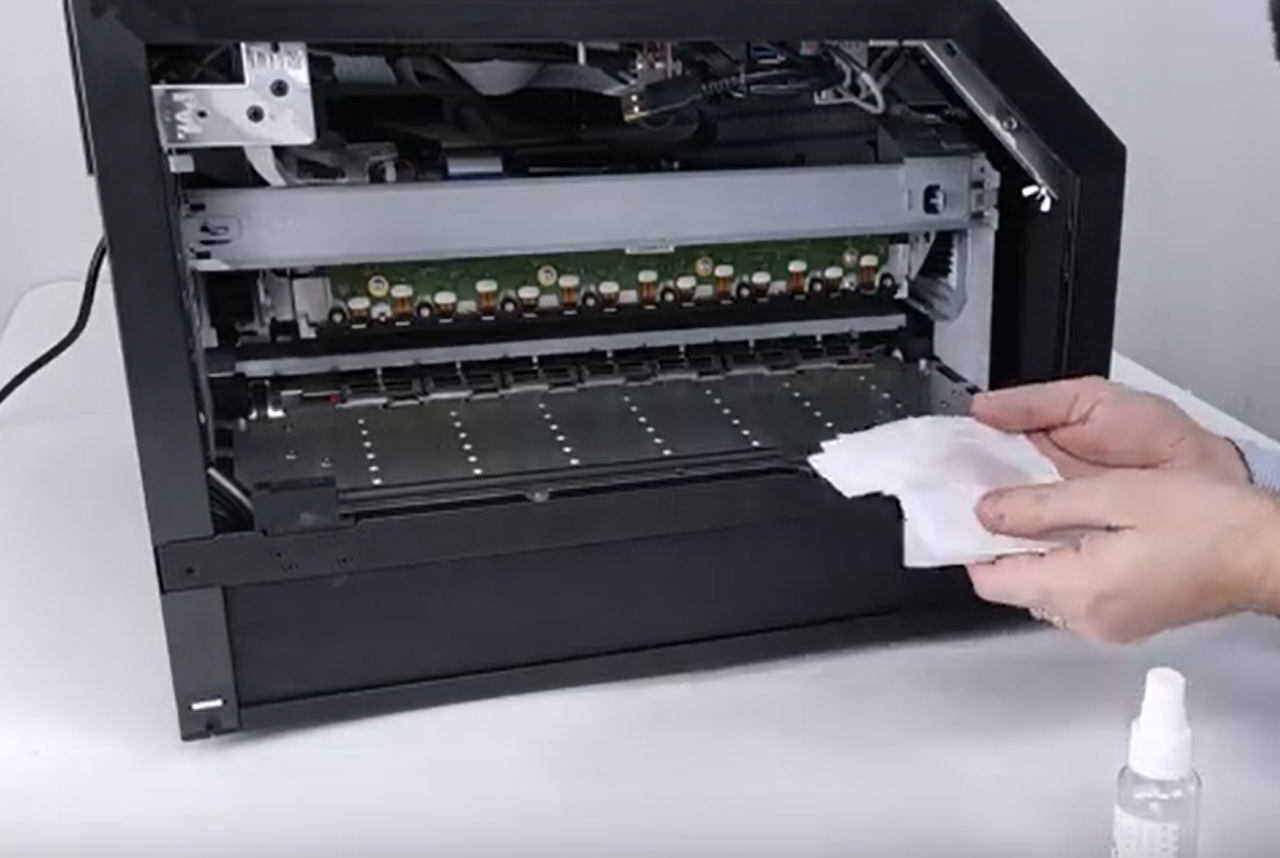
The following short video shows the steps for removing label debris from the printer exit.
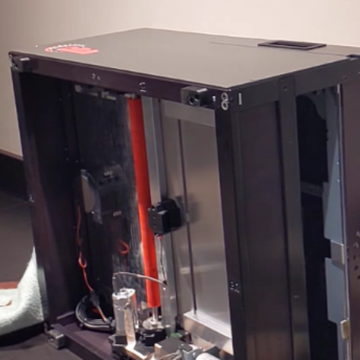
First remove the printer side panel.
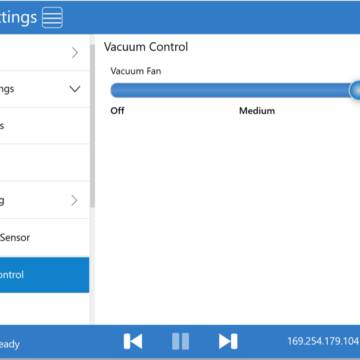
From the Operator panel select Support Tools. Then select Advanced and Service Print Zone. Optionally set the Max Wait Time. This is the amount of time you will have to clear any debris from the printer. In our video we set the Max Wait Time to 5 minutes. Press the ACCESS PRINTHEAD FOR CLEANING button and then wait until the service tray moves away from the printer exit.
When the service tray has moved away from the printer exit, locate the label debris. Wait for the service tray to finish moving before accessing the printer’s interior. Pull the label out while rotating the drive shaft pulley. Rotating the pulley should push the label out of the printer.
When you are done, select Cancel on the printer operator panel or wait until the Service Print zone routine times out. Be sure to remove your hands from the printer at all times except during the routine. Once the routine completes, the printhead will return to the capped position.
Be sure to replace the printer side panel when done.
Keywords: stuck label, printer jam

