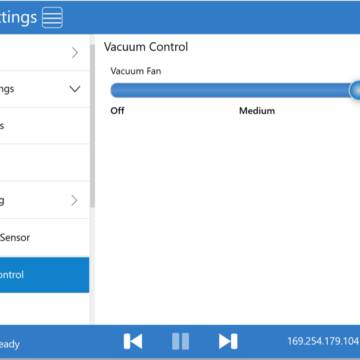
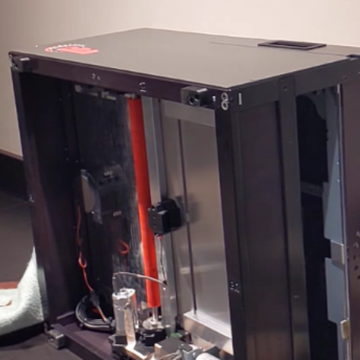
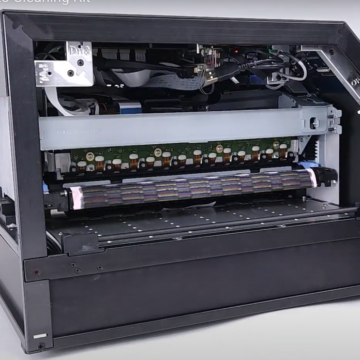
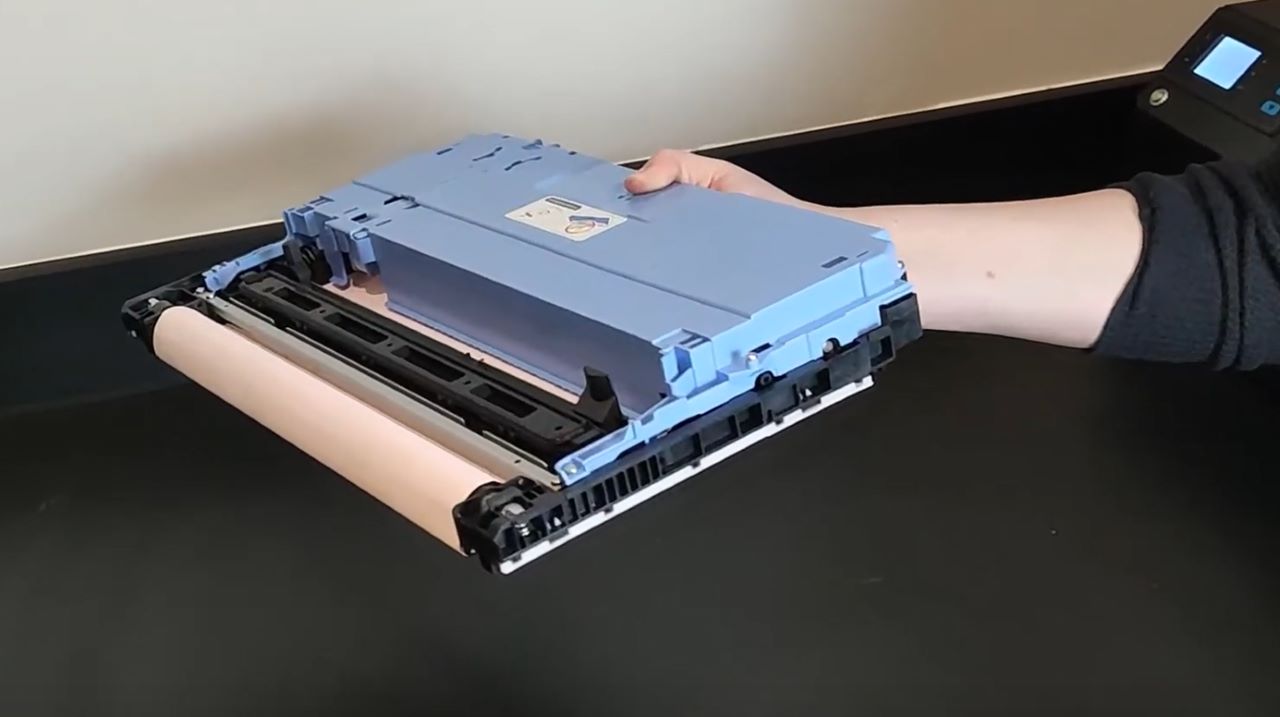
The following video provides instructions for using the Callisto Cleaning Kit.
The NeuraLabel Cleaning Kit has been designed specifically for maintenance of the Callisto printer.
It consists of a Printhead Cleaning Kit and three Advanced Cleaning Sheets.
Before using the NeuraLabel Cleaning Kit, we recommend running the standard printhead cleaning procedures available in the printer Operator Panel under Support Tools. The Cleaning kit is available in the event a more advanced printhead and media path cleaning is required.
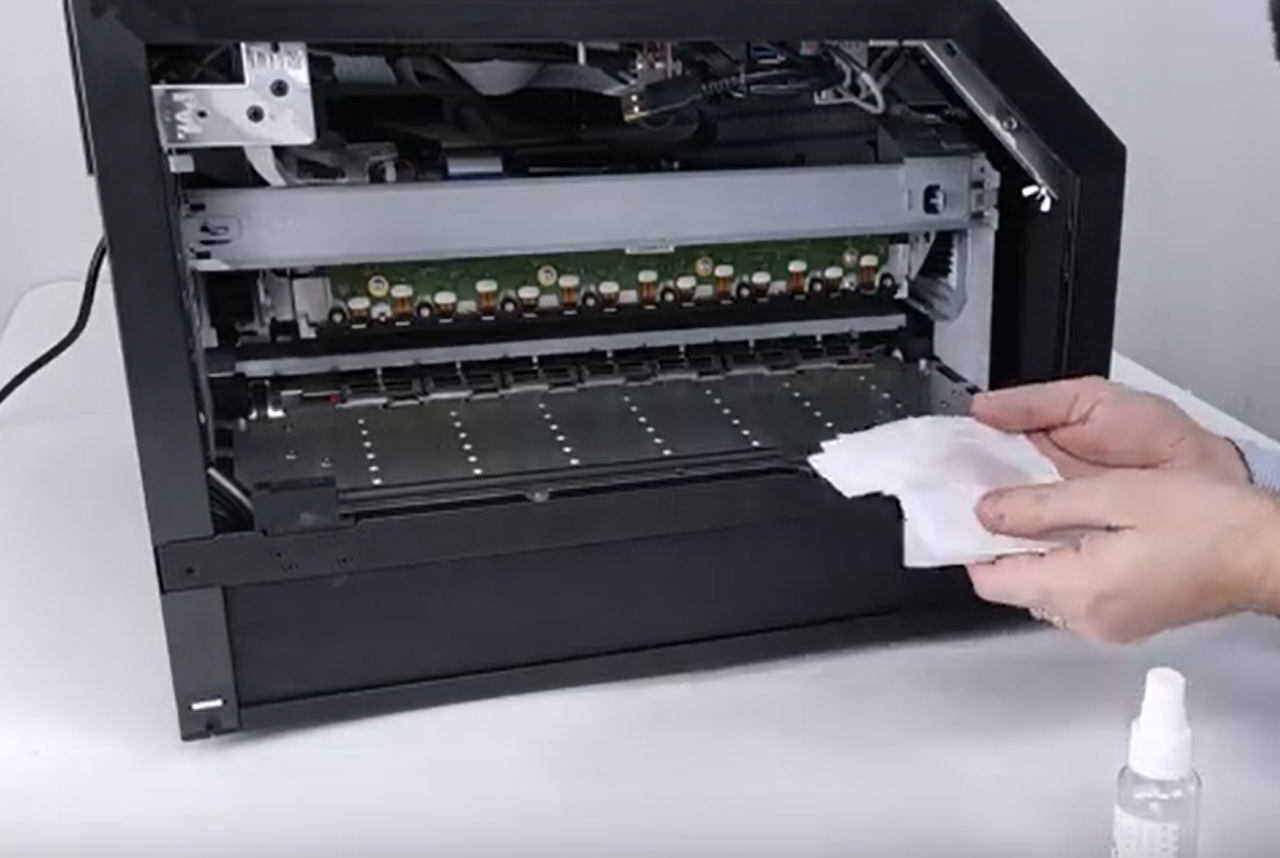
The Printhead Cleaning Kit is intended for the manual cleaning of both the Callisto’s printhead and ink tray exterior surface. It consists of a spray bottle of NeuraLabel Cleaning Solution and special lint-free wipes.
Before starting the cleaning, print a Print Quality Report to identify which printhead dies need attention. The 14 printhead dies are numbered along the printhead for reference. Check for Streaks or white lines in the quality report, which may indicate residue on the corresponding printhead die.
Once the affected areas have been identified, start the Service Print Zone in the Operators Panel and follow the directions on the printer screen.

- Select the Support Tools icon from the Printer Operator Panel.
- Select Advanced from the menu.
- Select Service Print Zone from the menu.
- When you are ready, click the button ACCESS PRINTHEAD FOR CLEANING
After the Service Tray has slid back and away, the printhead will be uncapped and accessible and “Clean the Printhead” will appear on the printer screen. Spray the lint-free wipe until wet, then using gentle pressure, press up into the affected area of the printhead and gently wipe forward towards the exit. Repeat this motion across the dies you identified as needing attention. Once the printhead has been cleaned, use a fresh wipe to clean the bottom of the printer, removing any ink or adhesive buildup. Be sure to complete these steps while “Clean the printhead” appears on the printer screen. Do not access the printhead when the screen indicates “service tray return” as the head will be moving during this time.
After the manual cleaning is complete, select Cancel on the printer screen. The Service Tray will move back into position and the printhead will cap. After the printhead caps, access the printhead cleaning menu in the Operator panel to perform a Light Spit. Print a Quality Report and review it to ensure the issue has been resolved.
The Advanced Cleaning Sheets included in the cleaning kit should be used to clean the media path. Over time, ink buildup can occur, resulting in media slippage. Advanced Cleaning sheets are used to remove the excess ink from the media path.
With gentle but firm pressure towards the printer’s exit, insert the cleaning sheet into the printer’s entrance. Maintain firm pressure as you press the jog button on the Operator Panel. It might take a moment for the printer to grab the sheet. Once it has grabbed the sheet, let go of the paper and jog it through the printer. Repeat this action as necessary to clear debris from the media path.
- Insert the Advanced Cleaning Sheet into the printer media guides and slide forward until it is loaded.
- Use the forward jog button to jog the sheet through the printer.
- Repeat the steps 2-3 times as needed.
For further questions about cleaning your Callisto printer, please contact our support team at support@neuralabel.com or call 281-207-8555.

