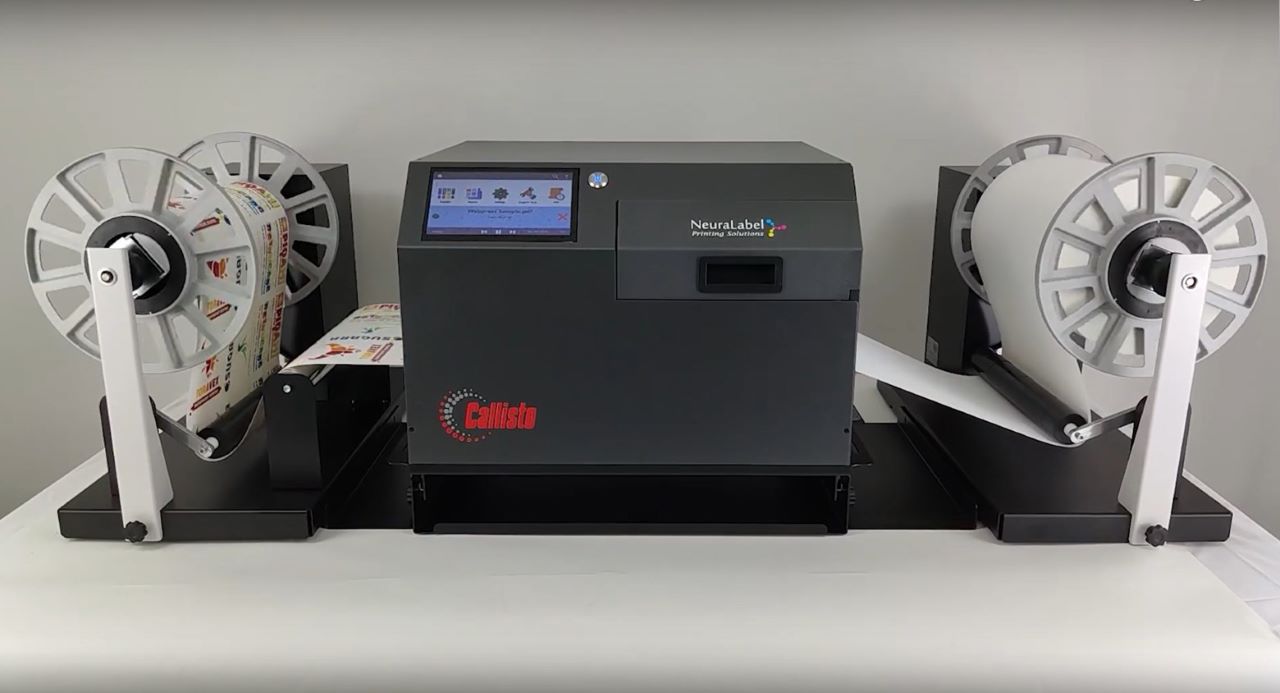
The following video demonstrates the installation of the Callisto 12-Inch Roll-to-Roll System.
The Callisto 12-Inch-Wide Roll-to-Roll System is specifically designed for the NeuraLabel Callisto Label Printer. It can handle rolls up to 11.81 inches wide, with an outside diameter of 10 inches. Both the Unwinder and Rewinder are equipped with a fixed 3” core holder.
Included with the Callisto 12-Inch-Wide Roll-to-Roll System is:
- The Unwinder Unit with spindle, heavy roll support, and power cable
- The Sliding Printer Tray
- The Rewinder Unit with spindle, heavy roll support, and power cable
- Two connection plates
- 12 Total Thumbscrews
- Imperial and Metric Scale Rulers
To begin, place the sliding tray in the center of the work table. Ensure the indentation for the ruler label is on the right side. Place the unwinder on the right side of the tray and the rewinder on the left side.
On the unwinder, screw the connection plate between the unwinder unit and the printer sliding tray. This plate is the wider of the two plates.
On the rewinder side, screw the connection plate between the rewinder unit and the printer plate. This plate is the narrower of the two plates.
There are two available ruler labels, imperial and metric scale. Apply your choice to the sliding tray in the reserved area. This will help set the sliding tray in the correct position depending on the media width loaded into the system.
Ensure the thumbscrews on the sliding tray are screwed into the lock position, and the tray does not slide. Carefully place the printer into the sliding tray.
Plug in both winder units with the provided power cables. Keep both winders off until ready for use.
Installation of your Callisto 12-Inch-Wide Roll-to-Roll System is complete.

