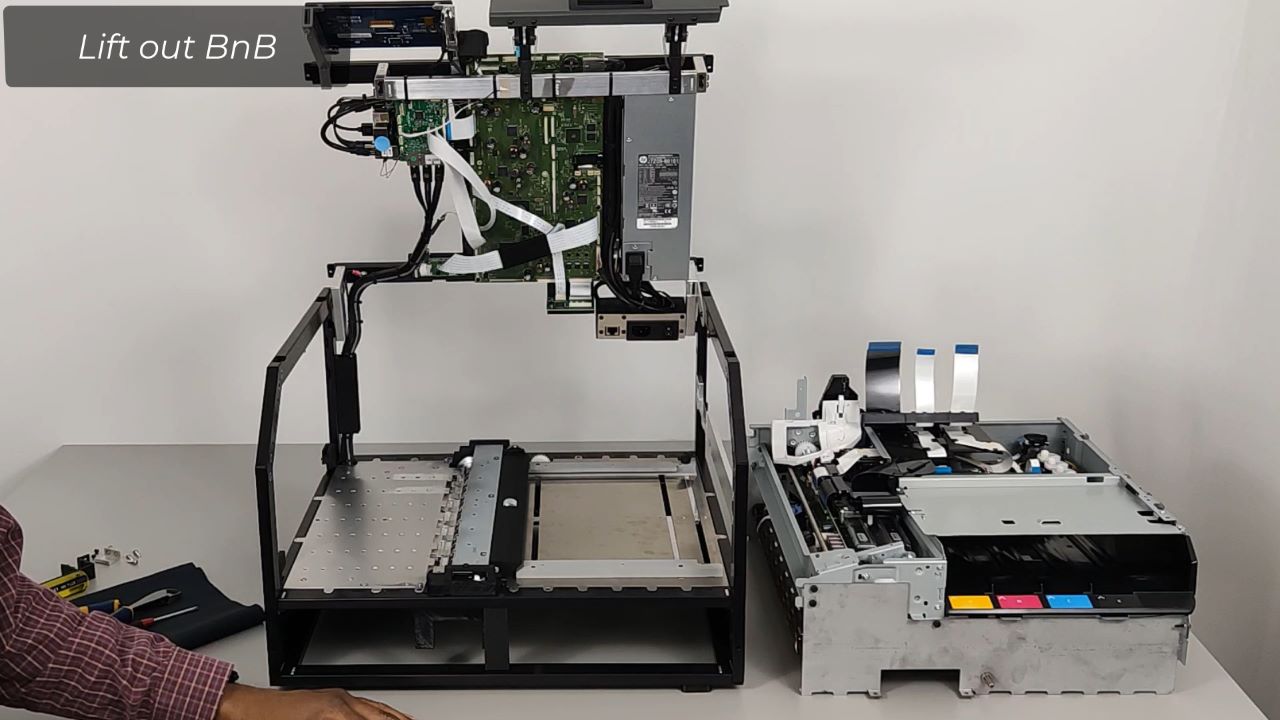
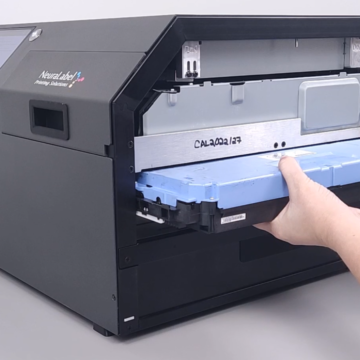
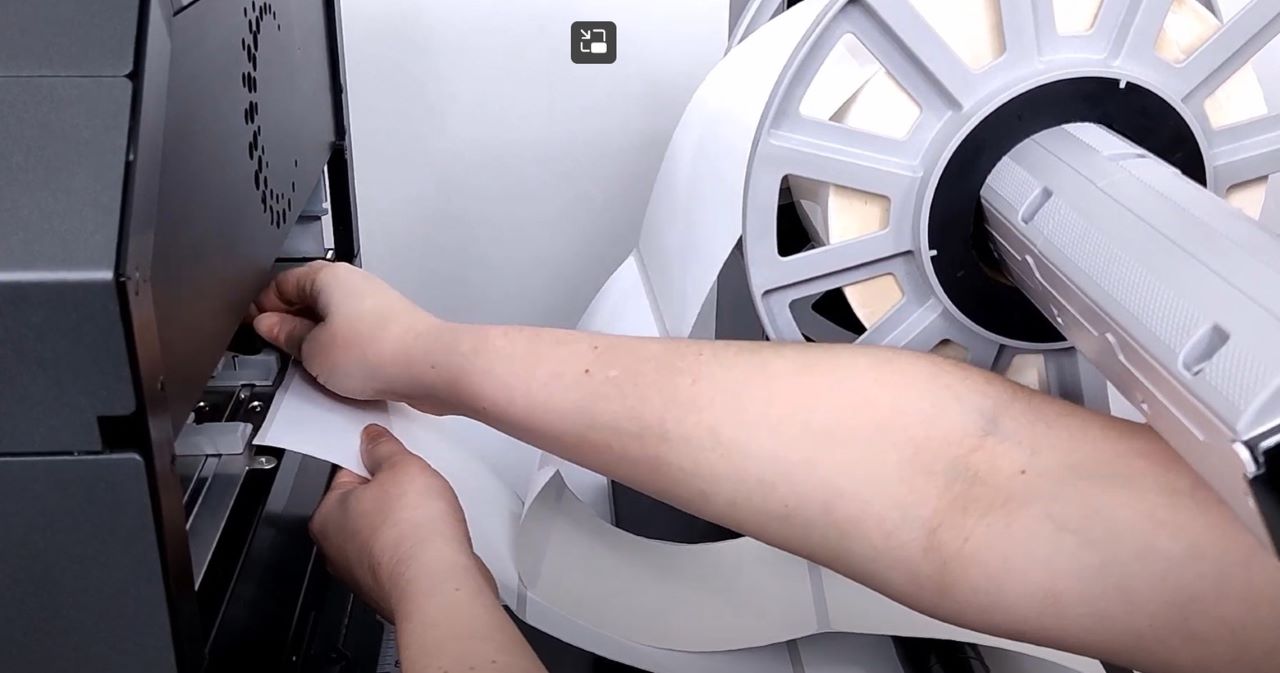
This video covers replacing the Bar-in-Box, or BnB, for both the Neuralog and NeuraLabel versions of the Callisto printer. There are 2 parts.
- Removing the BnB from the Printer
- Reinstalling the BnB in the Printer
The printer must be powered off and open to complete these steps. Please watch the video on Opening and Closing the printer if you have not done this step before.
Tools needed for Replacing the BnB include a Phillips screwdriver and hex key. Let’s get started.
Removing the BnB
Steps to remove the Bar-in-Box are as follows.
- Remove Screws and Latch
- Remove Cables
- Lift BnB from Printer Base
There are 4 silver screws and a latch that hold the BnB down. The latch is held by 2 black screws holds the BnB in place, and it should be removed first. When removed it will drop into your hand.
Remove the 4 screws that hold the BnB down.
When removing the last screw remove the shaft cap.
There are 3 flex (ribbon) cables; one black and two white. Remove the cables. Remove the black cable, tilting slightly forward to pull out and down, making sure the 2 hooks are released. Pull the next white cable straight down. Pull the last white cable straight up.
Once all screws are removed and cables are released, you are ready to lift the BnB from the printer base.
The BnB must be handled very carefully. Do not grasp the BnB by its sled. Grasp the square metal bar on the left and the BnB metal side on the right. BnB lifts straight up. Carefully set it aside.
Installing the BnB
Make sure the printer is powered off before installing/replacing the BnB. Steps to install a BnB into the printer frame are as follows.
- Place BnB in printer base; make sure it is level.
- Attach cables.
- Reattach screws and latch
Grasp BnB by the metal bar on the left and the BnB side on the right. Gently lower the BnB into the keyed printer slots. Make sure the keys fall into the slots so that printer will be level. If the BnB is sitting higher on one side, press down until level. There should be no gaps. Check all around the printer, front and back.
Replace 4 silver screws. Reattach the latch with the 2 black screws. Replace the shaft cap.
WARNING: Do not cross thread the screws. If the screw begins to cross thread; stop and back screw out and restart.
WARNING: Do not over-tighten screws.
Attach the first white ribbon cable with blue backing facing the main board. Attach the second white ribbon cable; it may help to release the electronics tray. Be very careful with this step. Attach the black ribbon cable last; tilt forward and push up. Re-dock the electronics tray if you have released it.
The BnB should now be installed. When complete, power on the printer to test.

