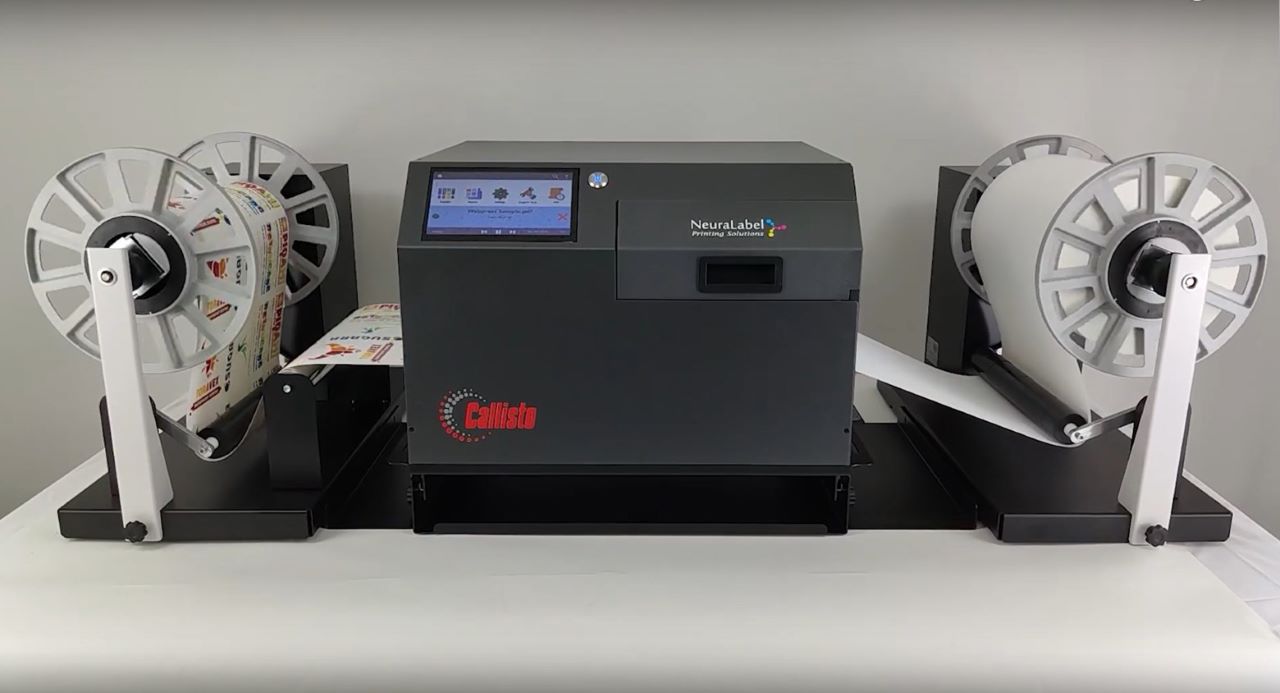
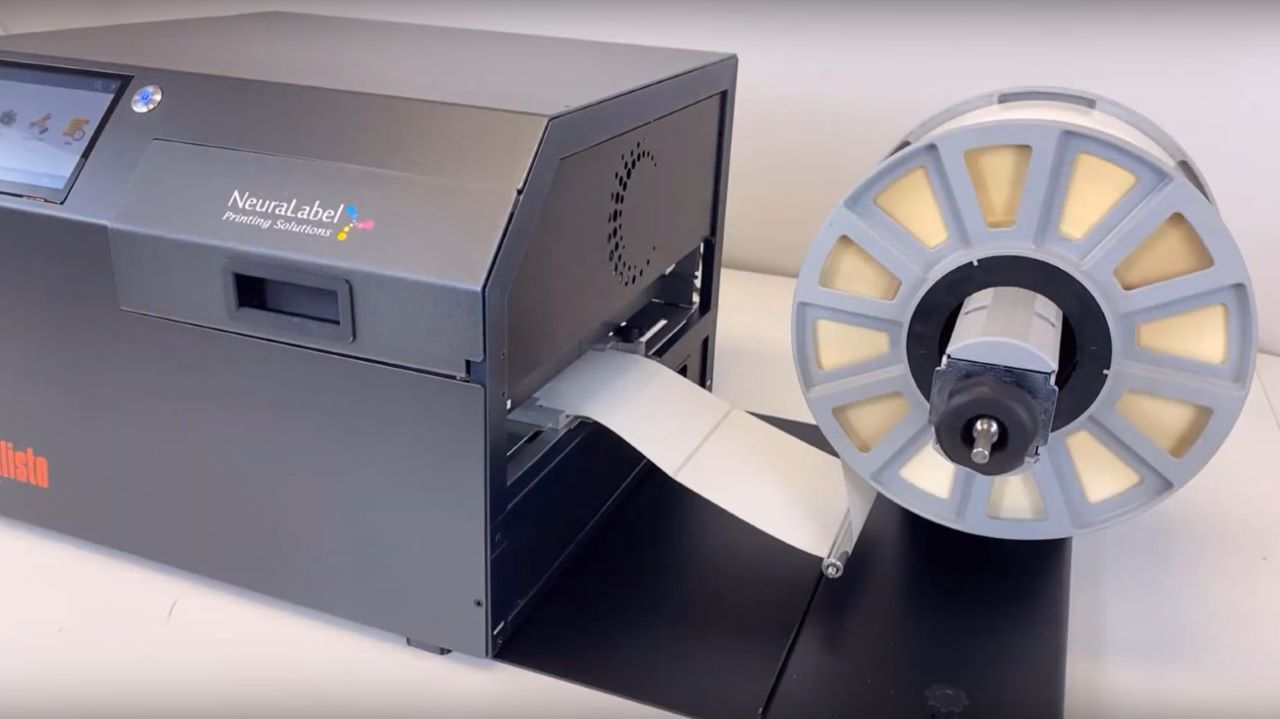
The following video provides instructions for properly repacking the Callisto Printer. The Callisto printer must be packaged in its original box with proper packaging if it is to be shipped.
If you should need to ship your Callisto printer, follow these steps to properly protect the printer.
Turn off the printer using the round LED power button and remove the Ink cartridges. Do not ship your Callisto printer with ink installed.
Turn the back power switch to the off position. Unplug the Network and Power cables.
Take the orange ink cap and place it inside the ink cavity and close the ink door.
Install the left and right orange sled caps. These caps must be properly installed to prevent damaging the printer during shipment.
First slide the printer guides together and lock them in place.
Hold the left cap such that it is oriented in the position of an upper case letter D. Install the left cap by sliding the cap into place along the metallic grooves. The cap will snap into place when completely installed.
Hold the right cap such that it is oriented with the arrow at the end of the cap pointing to the left. Install the right cap by sliding it into place along the metallic groove. Slide the orange cap to the end of the track. Then push up and to the right to snap it into place.
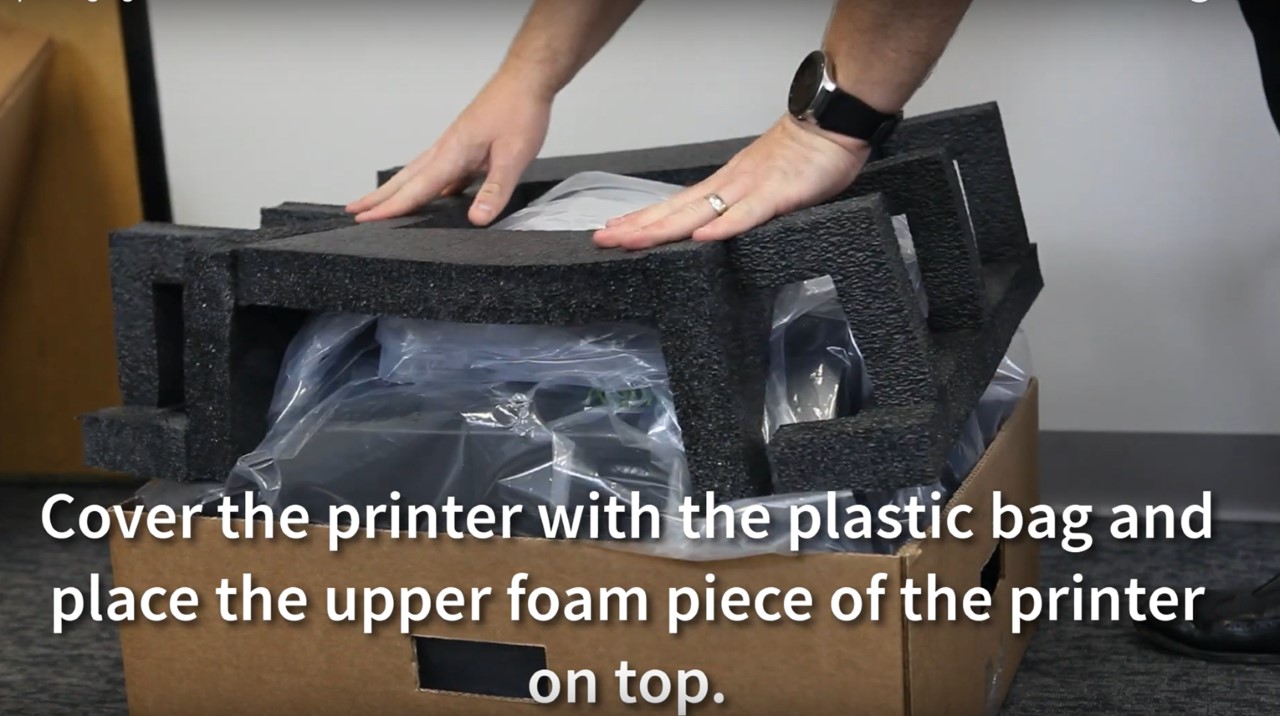
Prepare the bottom component of the Callisto shipping box by making sure the packing foam and plastic bag are in place. With two people, lower the printer into the plastic bag in the lower box.
Cover the printer with the plastic bag and place the upper foam piece of the printer on top.
Place the upper box component on the lower box component.
Attach the four white handles onto the closed box.
It is recommended to ship the Callisto printer on a pallet. Contact Neuralog if you need assistance.

