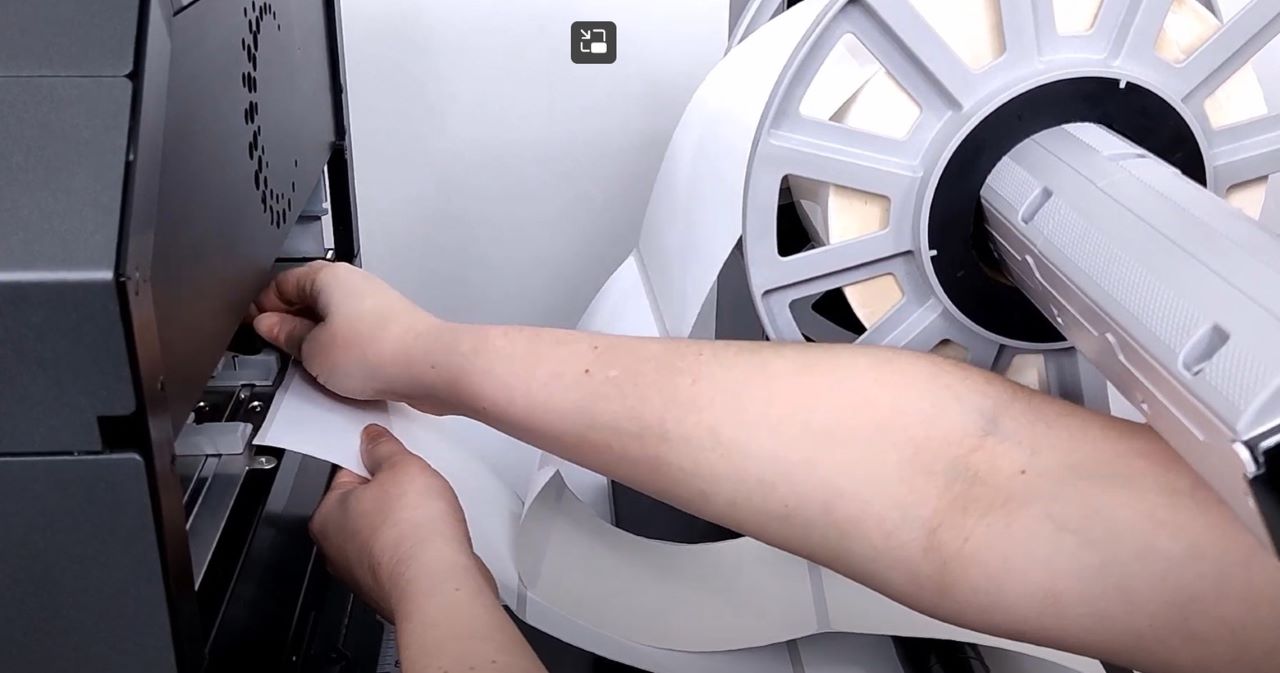
The following video provides instructions for unpacking and setting yo your Callisto Printer. It does not cover the setup of accessories such as winders or stackers.
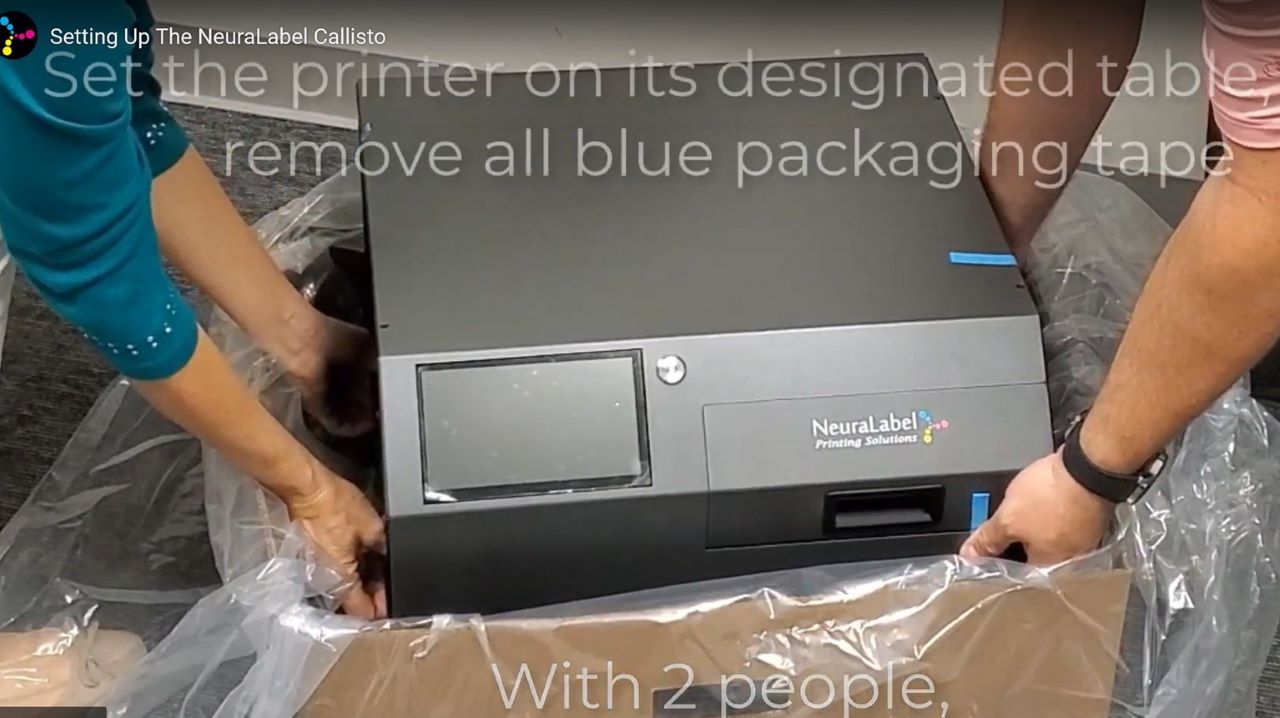
The Callisto printer weighs about 55 pounds and requires 2 people to lift the printer.
Before you unbox your Callisto printer, make sure you have a sturdy table near a power and network outlet.
The Callisto is packaged in a 2-piece box. Unbox the printer by removing the 4 white handles. These handles attach the upper box component to the lower component. Do not cut the box open and do not remove the outer packaging tape.
Once the 4 white handles are removed, remove the upper box.
- Remove the bag containing the network and power cables and the bag containing the ink.
- Remove the gray upper foam piece.
The printer is packaged in a large plastic bag. Open this bag, and with 2 people, remove the printer from its packaging. Set the printer on its designated table.
Next remove all blue packaging tape from the printer.
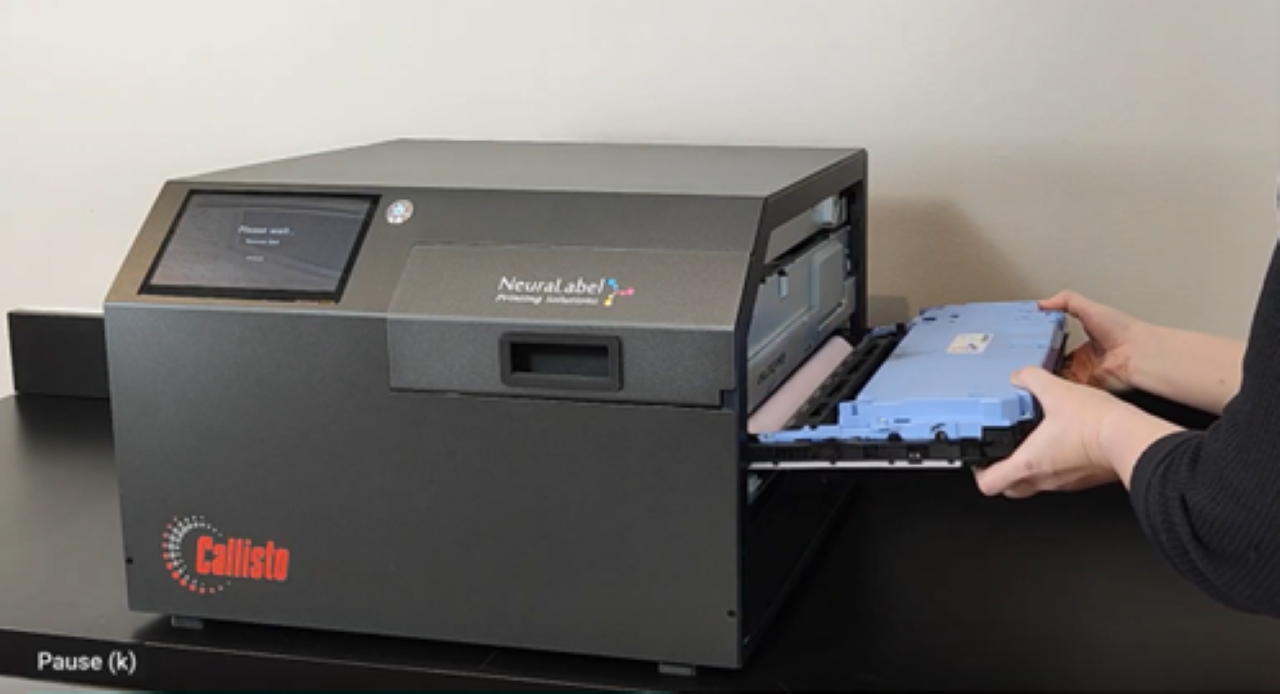
At the printer entrance or right-hand side of the printer, you will see 2 pieces of orange packaging material.
- Remove the orange LEFT SLED CAP by grabbing its handle and pulling down and out.
- Remove the orange RIGHT SLED CAP by grabbing its handle and pulling to the side and out.
At the printer front you will see the ink door. Open the ink door and remove the blue packaging tape. The remove the orange INK CAP by pulling it out.
Be sure to save the packaging material and the original Callisto box in case you need to ship your printer.
Open the plastic bag containing the ink and place the 4 cartridges in their respective positions under the ink door. You will feel each cartridge snap into place. When all four cartridges are in place close the ink door.
Remove the protective cover from the printer screen.
Attach the power and network cables to the back of the printer. The cables face upwards. For the power cable the single prong face away from the printer. For the network cable the smaller side also faces out.
Plug in the power and network cables to the wall.
Turn the Power switch in the back of the printer to the ON position. You will see the blue power button on the front of the printer blink and then light up. You will then see the operator panel boot up to the home screen.

