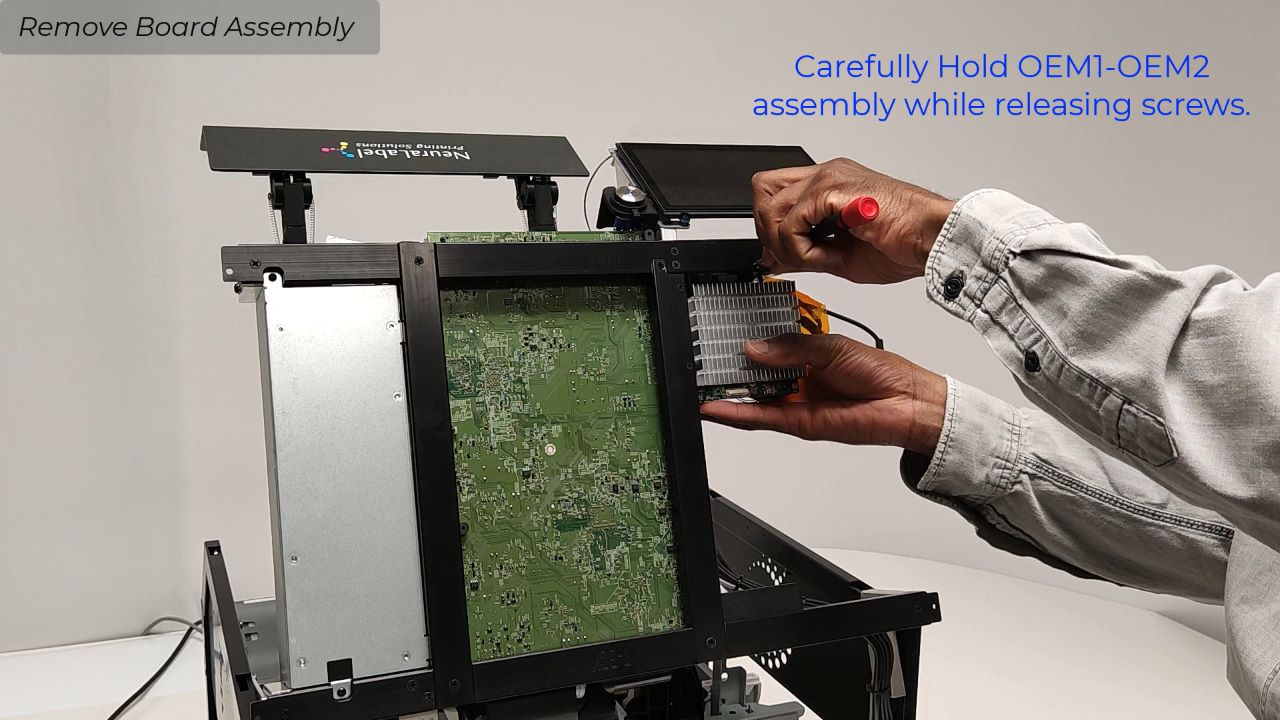
This video provides instructions for replacing the Output Tray within the printer. The printer must be powered off and open, and the BnB must be removed, to replace the output tray. Please watch those instructional videos before attempting to remove the output tray.
A Phillips screwdriver and alan key are needed to remove the output Tray.
There are two parts to the video.
- Removing the Output Tray
- Reinstalling the Output Tray
Removing the Output Tray
There are a total of 6 screws to be removed. Remove 2 silver screws from the back of the printer. Remove 2 black screws at the front of the printer. Remove 2 socket head screws with Alan key.
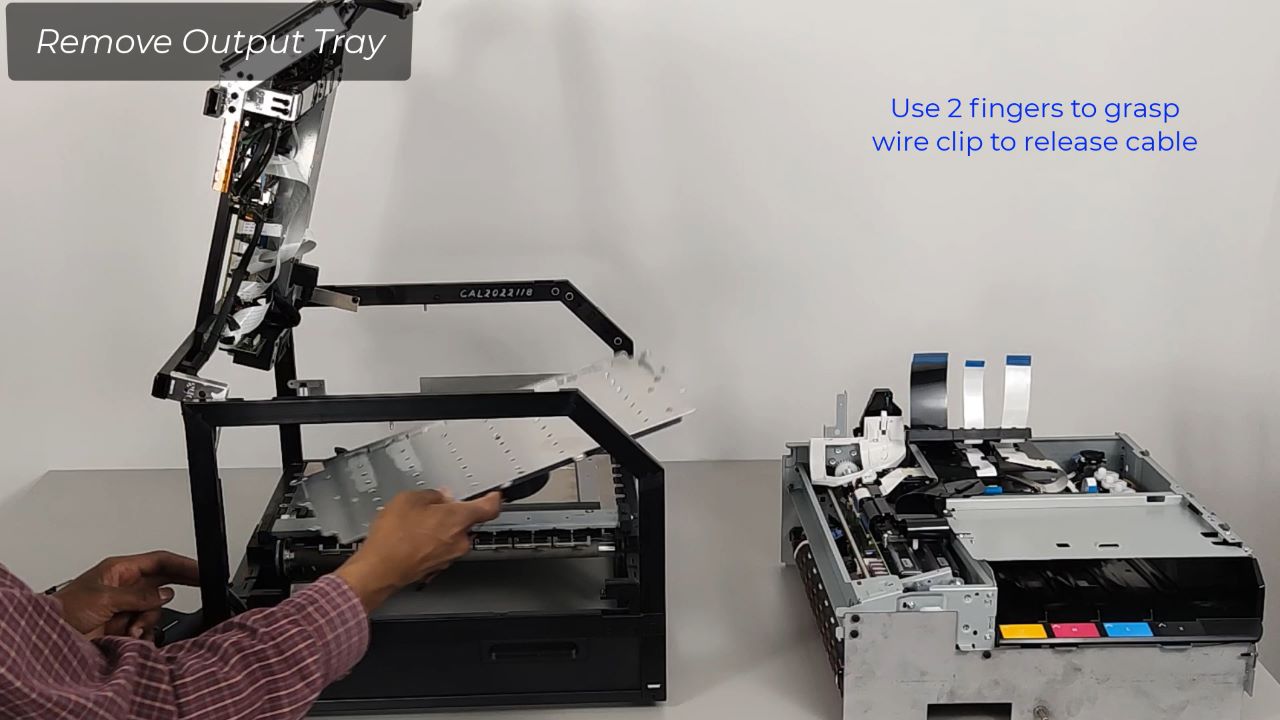
Lift tray from the corner with fingers. Do not remove yet; there is a wire connector Release the wire connector. Then remove the output table..
Replacing the Output Tray
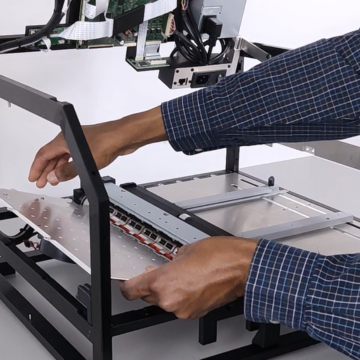
Slide in output tray at an angle. Reattach the connector that was disconnected. Be careful not to damage pins on top of the output tray.
Replace the 6 screws that were removed when removing the tray. Do not tighten screws until all screws are in place. Do not over-tighten screws. The 2 socket head screws should be tightened until they just touch the top of the plate. Once they touch the top of the plate, turn with socket key 1/2 turn. This adjusts the tension on the metal output tray plate. Carefully tighten socket screw until the plate is as close to possible to roller without touching it.
When socket screws are adjusted, tighten 2 silver screws in the back. Then tighten 2 black screws in the front corners.
Output Tray installation is now complete.

